Clear Your Windows Update Cache Easily
how to clear windows update cache
Knowing how to manage your computer’s services, especially when it comes to updates, can significantly enhance its performance and your overall experience. This article aims to guide you through the process of accessing, managing, and even stopping certain services with ease. From the Windows Services Manager to clearing the update cache, we’ll cover essential steps to keep your system running smoothly.
Accessing the Windows Services Manager
How to Open the Windows Services Manager to Manage Update Services
Opening the Windows Services Manager is essential when you need to manage update services or adjust other system services on your computer. Here’s a clear, step-by-step guide on how to access it.
- Begin by pressing the Windows key on your keyboard. This key usually features the Windows logo and is found on the lower left between the “Ctrl” and “Alt” keys.
- As soon as the Start Menu opens, type “services.msc” into the search box. Be precise with the spelling to avoid issues. This command is your direct line to the Services application.
- Look at the search results that appear. The Services application should be listed right at the top. It might just say “Services” with a gear icon next to it. This icon indicates settings or adjustments, which is precisely what you want.
- Click on “Services” from the results. A new window will open, displaying a list of all the services available on your Windows system. Each service will have a description next to it to help you understand its function.
- To manage update services, scroll down the list until you find “Windows Update” or any service related to updates. The services are usually listed in alphabetical order to make this step easier.
- Once you’ve located the Windows Update service, right-click on it to see available options. You can choose to start, stop, pause, resume, or restart the service, depending on what you need to do.
- If you’re looking to make changes, such as disabling automatic updates temporarily, click on “Properties” from the right-click menu. A new window opens where you can adjust the settings, including the service’s startup type.
- After making your adjustments, click “Apply” to save your changes. Then, click “OK” to exit the Properties window. You can now close the Services Manager.
By following these steps, you’ve successfully accessed the Windows Services Manager and now know how to manage update services, among others. This knowledge empowers you to have more control over how your Windows system operates.
Stopping the Windows Update Service
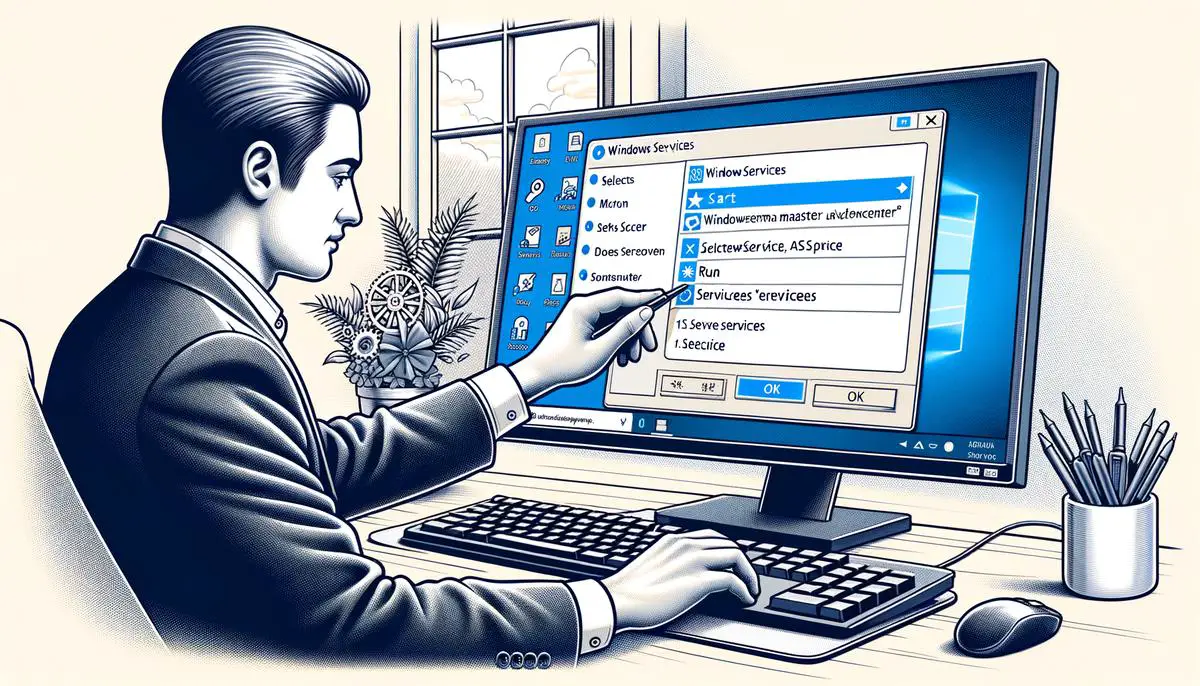
To efficiently and precisely complete the process of stopping the Windows Update Service, follow these remaining procedures, ensuring your system’s integrity and operational preferences are maintained without a hitch.
Initiate the cessation of the Windows Update Service by adhering to the preliminary steps already outlined. Upon reaching the pivotal juncture of interacting with the Windows Update service properties, direct your focus to the ‘General’ tab within the ‘Properties’ window. Here lies the control nexus for the service’s operational state.
Identify the ‘Service status’ section nestled within this tab. This area serves as a real-time indicator of the service’s current functioning state. Should the status display ‘Running’, you are positioned to enact the desired service halt.
Adjacent to the ‘Service status’ indicator, situate the ‘Stop’ button. A deliberate click on this button will command the Windows Update Service to cease its operation. Upon initiating this action, a momentary pause may ensue as the system processes the request, culminating in the cessation of the service.
With the service now halted, a precautionary measure involves adjusting the ‘Startup type’ dropdown menu. This menu dictates the conditions under which the service initiates upon system startup. To prevent automatic activation of the service with each system boot, select ‘Disabled’ or ‘Manual’ from the dropdown menu. ‘Disabled’ completely bars the service from starting unless manually initiated, whereas ‘Manual’ allows for the service to be initiated when prompted by the user or specific system events.
After configuring the service to your satisfaction, reaffirm your adjustments by selecting ‘Apply’, followed by ‘OK’. These actions cement your preferences, tailoring the behavior of the Windows Update Service in alignment with your directives.
Conclude your customization process by exiting the Services Manager. This act finalizes the adjustments, leaving your system configured to your specifications regarding the Windows Update Service’s operational dynamics.
Through these meticulously delineated steps, you possess the capability to masterfully control the activation state of the Windows Update Service, ensuring your computing environment aligns with your personal or organizational policies and preferences.

Clearing the Update Cache
Continuing from where the initial part left off, the next steps involve clearing the cache itself after successfully stopping the Windows Update service. Here’s how to proceed with the process:
- Open the File Explorer – Press the Windows key + E simultaneously to launch the File Explorer window quickly.
- Access the Windows Update Cache Location – In the File Explorer address bar, type
C:WindowsSoftwareDistributionDownloadand hit Enter. This path leads directly to the folder where Windows stores the update files. - Select All Files – Once in the folder, press Ctrl + A to select all the items in the directory. This action highlights all files and folders within the Download folder.
- Delete the Files – With all files selected, press the Delete key on your keyboard. Confirm any prompts asking if you are sure about deleting the items, ensuring you’re clearing out the cache. If any files are in use and cannot be deleted, a restart of your computer, followed by an attempt to delete again before other processes start, could solve the issue.
- Restart the Windows Update Service – After clearing the cache, it’s crucial to restart the Windows Update service to enable Windows to check for updates again properly. Repeat the initial steps to open the Services application via the Start Menu search by typing
services.msc. - Navigate to Windows Update Service – In the Services Manager window, scroll through the list to locate the “Windows Update” service. Once found, right-click on it and select ‘Start’ from the context menu to re-enable the service.
- Exit Services Manager – Finally, close the Services Manager. Your system is now ready to check for and download any new updates without the clutter of old, unnecessary update files.
By following these steps, you efficiently clear the Windows Update cache, which can help resolve update errors and free up disk space. Remember, keeping your Windows Update service functioning correctly is crucial for the security and efficiency of your system.
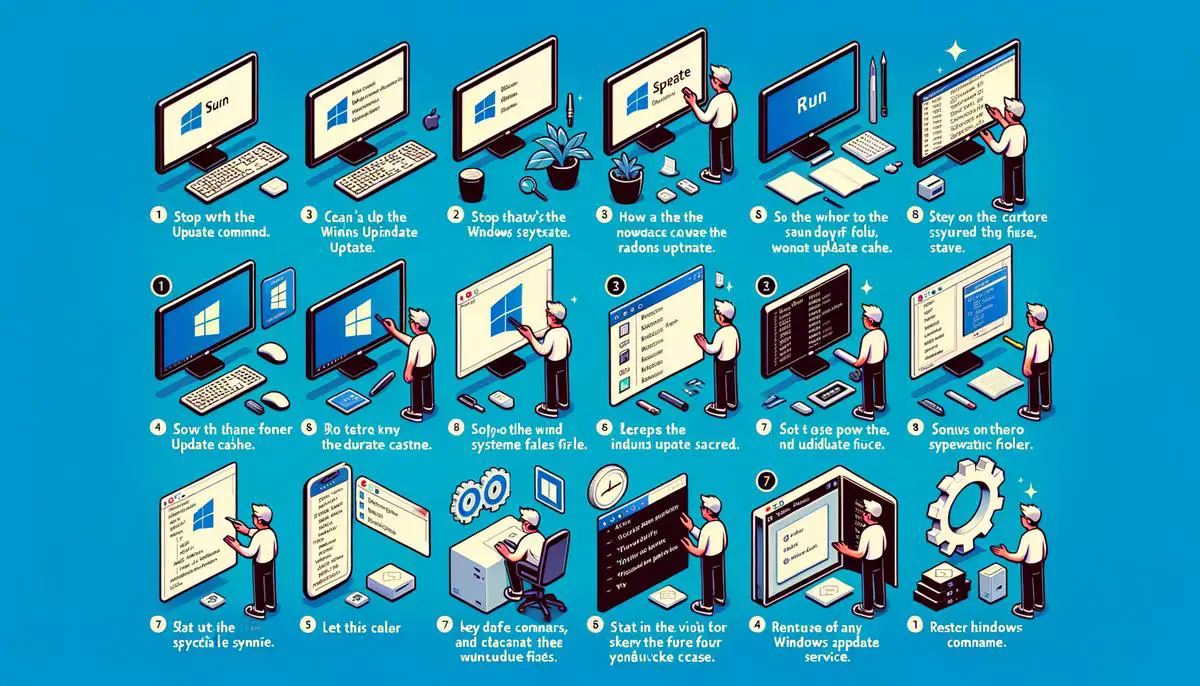
Mastering the control of the Windows Update service and managing the update cache are critical skills for keeping your system efficient and tailored to your needs. By following the steps outlined in this guide, you now have the tools to ensure your computer operates at its best, with updates and services functioning exactly as you prefer. Remember, a well-maintained system not only performs better but also offers a more secure and enjoyable user experience.
