Install Windows 11 on Unsupported Hardware: The Ultimate Guide for Tech Rebels
Are you frustrated by Microsoft’s strict system requirements and want to know how to install Windows 11 on unsupported hardware?
Maybe your PC runs perfectly fine but doesn’t tick the boxes to meet Windows 11’s hardware requirements.
Don’t worry. You’re not alone.
What if I told you there’s a way to bypass all those annoying restrictions and install Windows 11 on unsupported hardware?
Yeah, it’s possible.
In this guide, I’ll walk you through the step-by-step process, answer common questions, and clear the fog around this so-called “impossible” task.
Let’s jump right in.
What Does “Unsupported Hardware” Mean?
Let’s break this down.
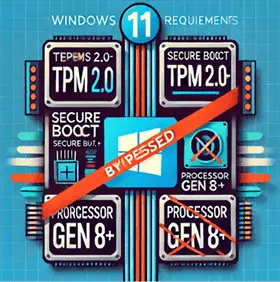
Unsupported hardware refers to any PC that doesn’t meet Windows 11’s system requirements, like:
- A compatible TPM 2.0 chip (trusted platform module)
- A newer-gen processor (e.g., Intel 8th gen or later)
- Secure Boot capability
In short, Microsoft thinks your PC’s too old.
But here’s the thing—these requirements are guidelines. They’re not set in stone.
Can You Really Install Windows 11 on Unsupported PCs?
Yes, you can.
Windows 11’s installer is designed to enforce hardware requirements, but there are workarounds.
Think of it like this:
Your PC is a nightclub, and Microsoft is the bouncer refusing to let you in because you’re not on the VIP list.
But there’s a back door.
What You Need to Install Windows 11 on Unsupported Hardware
Here’s a checklist to get started:
- ISO file of Windows 11
- A USB drive (at least 8GB)
- A tool like Rufus or Microsoft’s Media Creation Tool
- A PC running Windows 10 or older
- Internet access (optional but useful)
Step 1: Download the ISO File for Windows 11
Start with the Windows 11 ISO file.
You can grab this directly from Microsoft’s website or through trusted third-party tools.
Why an ISO file? It’s the cleanest way to perform a Windows 11 installation without relying on Windows Update.
Step 2: Create a Bootable USB Drive
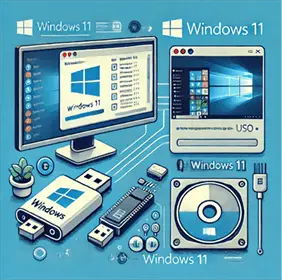
Next, you’ll need to make a bootable USB drive. This will allow you to install Windows 11 from scratch.
Use a tool like:
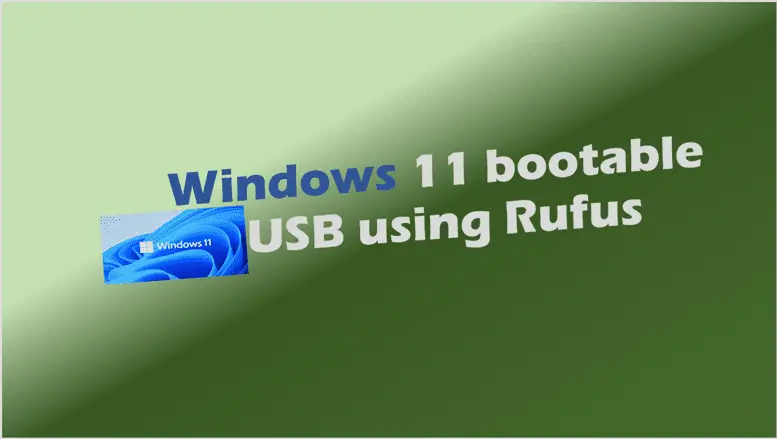
- Rufus (highly recommended)
- Windows Media Creation Tool
Steps to Create the Bootable USB:
- Insert your USB drive into your PC.
- Open Rufus and select the Windows 11 ISO file.
- Under “Partition Scheme,” pick the option compatible with your PC (usually GPT).
- Click “Start.”
Boom. Your USB is ready.
Step 3: Modify the Windows 11 Installer to Skip Hardware Checks
Here’s the sneaky part.
You’ll need to bypass the TPM and Secure Boot checks during installation.
Two Ways to Do It:
- Modify the Registry
- Press
Shift + F10during installation to open Command Prompt. - Type
regeditto open the Registry Editor. - Navigate to:
HKEY_LOCAL_MACHINE\SYSTEM\Setup - Create a new key called
LabConfig. - Add the following DWORDs and set their values to
1:BypassTPMCheckBypassSecureBootCheck
- Press
- Use Rufus’ Built-In Option
- Rufus now offers an option to skip hardware requirements when creating the bootable USB.
Step 4: Install Windows 11 Using the Bootable USB
Time to install.
- Insert the bootable USB drive into your unsupported PC.
- Restart your PC and boot from the USB (usually by pressing
F12orESC). - Follow the on-screen instructions to install Windows 11.
When prompted, choose “Custom Installation” for a clean setup.
What About Updates for Windows 11 on Unsupported PCs?
One big question: Will you still get updates?
Yes and no.
While most updates, like security patches, should work fine, there’s no guarantee Microsoft will provide full support for unsupported PCs.
Risks of Running Windows 11 on Unsupported Hardware
Before you dive in, understand the risks:
- No Official Support: You’re essentially voiding any help from Microsoft.
- Performance Issues: Some older hardware might struggle with Windows 11 features.
- Updates May Break Things: Future updates could cause compatibility issues.
FAQs About Installing Windows 11 on Unsupported PCs
Can I revert to Windows 10 if something goes wrong?
Yes. As long as you have a backup or recovery media, you can roll back to Windows 10.
Is it legal to install Windows 11 on unsupported hardware?
Technically, yes. You’re not breaking any laws, but it’s against Microsoft’s guidelines.
Will my PC be secure running Windows 11 on unsupported hardware?
Mostly. But you’re taking on some risks due to lack of guaranteed updates.
Key Takeaways – Install Windows 11 on Unsupported Hardware
- You can install Windows 11 on unsupported hardware by bypassing Microsoft’s system requirements.
- Use tools like Rufus and the Windows 11 ISO file to make the process smooth.
- Be aware of the risks: lack of support, potential update issues, and possible performance hiccups.
If your unsupported PC is up for the challenge, this is your chance to run Windows 11 and breathe new life into your machine.
Don’t let Microsoft’s system requirements hold you back.
Ready to try?
FAQs – Install Windows 11 on unsupported hardware
Can you force Windows 11 on unsupported hardware?
Yes, you can force Windows 11 installation on unsupported hardware by using tools like Rufus to create a bootable USB or modifying the registry to bypass hardware checks.
How do I install Windows 11 if CPU is not supported?
To install Windows 11 with an unsupported CPU, you need to bypass system checks. Use Rufus to create a bootable USB that skips the CPU validation or edit the registry to disable hardware requirement checks.
How do I make my PC eligible for Windows 11?
If your PC doesn’t meet Windows 11’s requirements, enable TPM 2.0 and Secure Boot in your BIOS settings. If your hardware still isn’t eligible, you can use a workaround by editing registry settings or using modified installation tools.
How to install Windows 11 without TPM?
You can install Windows 11 without TPM by bypassing hardware checks. Modify the registry during setup to add a ‘LabConfig’ key with ‘BypassTPMCheck’ set to 1 or use Rufus to create a bootable USB that disables TPM requirements.
More Information:

